
How to Beat Ancient Sirehound in Pikmin 4: Final Boss Tips
Ancient Sirehound boss guide: five phases in Cavern for a King, tail-flip mechanic, elemental patterns, and Pikmin 4 loadout tips for the true finale.
Who is the Ancient Sirehound?
The Ancient Sirehound is a colossal space dog tied to Oatchi and Moss’s lore—Yonny and Olimar treat it as a possible ancestor of modern Rescue Pups (Pikipedia — Ancient Sirehound, accessed 2026-11-03). Louie mounts it during the Cavern for a King finale, turning a gentle creature into a multi-phase arena fight.
This is the fight behind the keyword how to beat Ancient Sirehound Pikmin 4. It is unrelated to optional night bosses such as the Smoky Progg aside from sharing the same cave chain earlier.
Where does the Ancient Sirehound fight happen?
- Cave: Cavern for a King (Primordial Thicket)
- Sublevel: 20 of 20
- Arena: Circular floor with a southern alcove for the S.S. Beagle landing site (Pikipedia location section)
You reach the cave after Nelle joins the crew and the Primordial Thicket story beat; plan a full cave day because earlier sublevels include other bosses (including Smoky Progg on sublevel 10).
What is the core mechanic every phase shares?
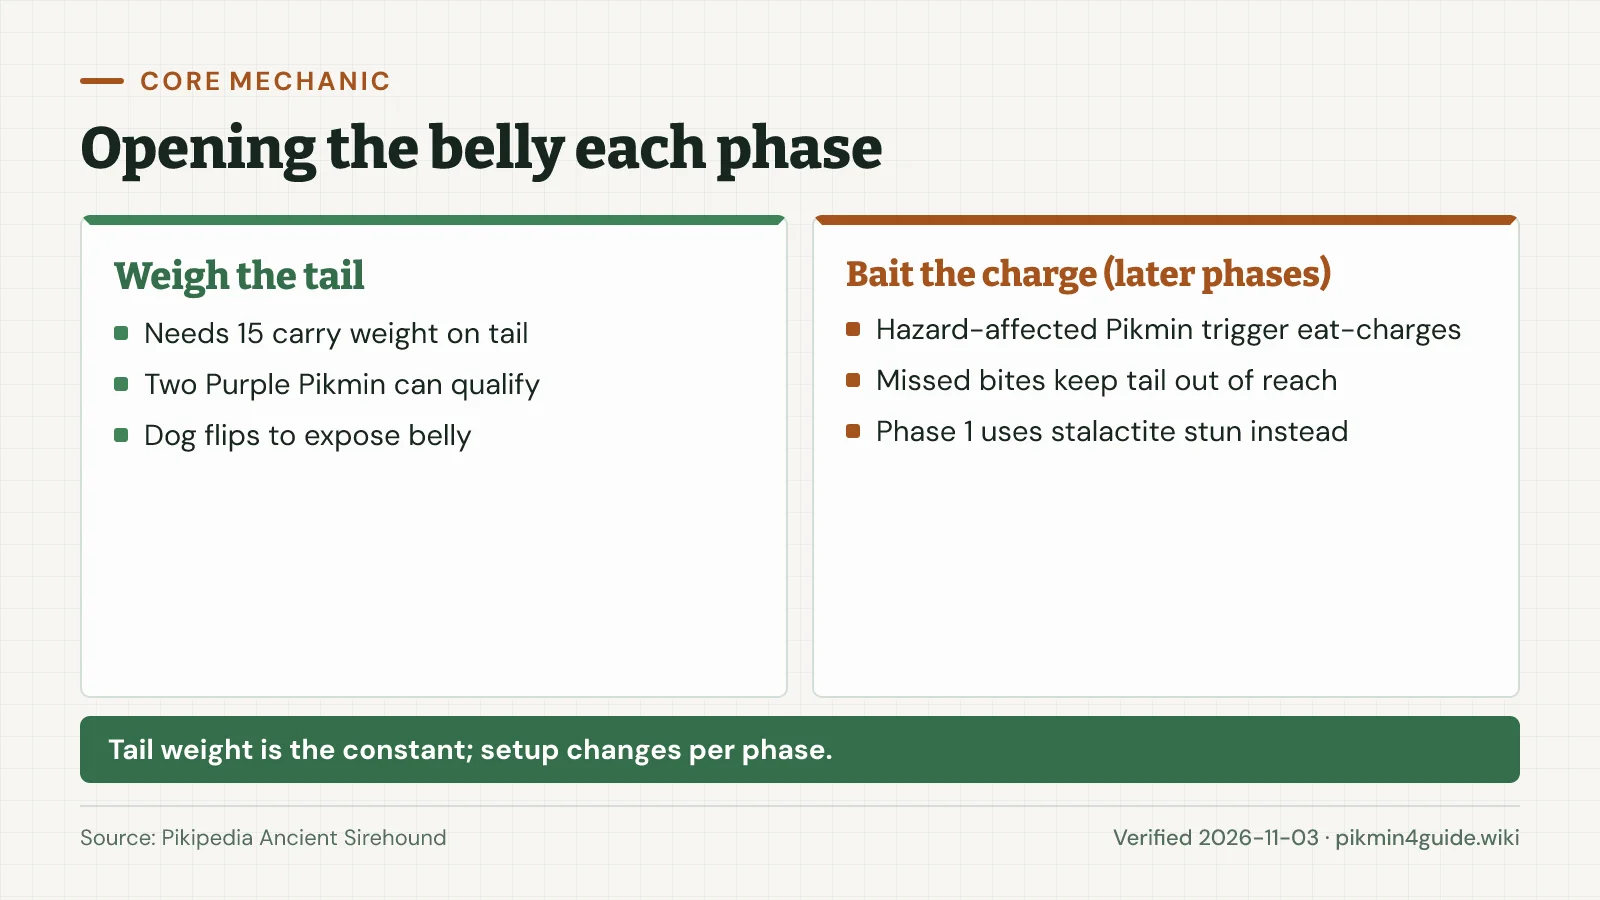
- Tail weigh-down — The tail behaves like a 15-carry-weight object. Enough Pikmin latch on, the Sirehound tries to bite its tail, then flips on its back.
- Belly damage window — Attack the exposed stomach until it bucks Pikmin off and stands up.
- Phase swap — Each health wheel empty triggers a new elemental kit until all five bars are gone (Pikipedia stats table: 9000 HP per phase).
Phase 1 adds a teaching twist: stalactites fall when it jumps; bait a charge into a rock column to stun instead of relying on eat-charges.
How do I handle each Ancient Sirehound phase?
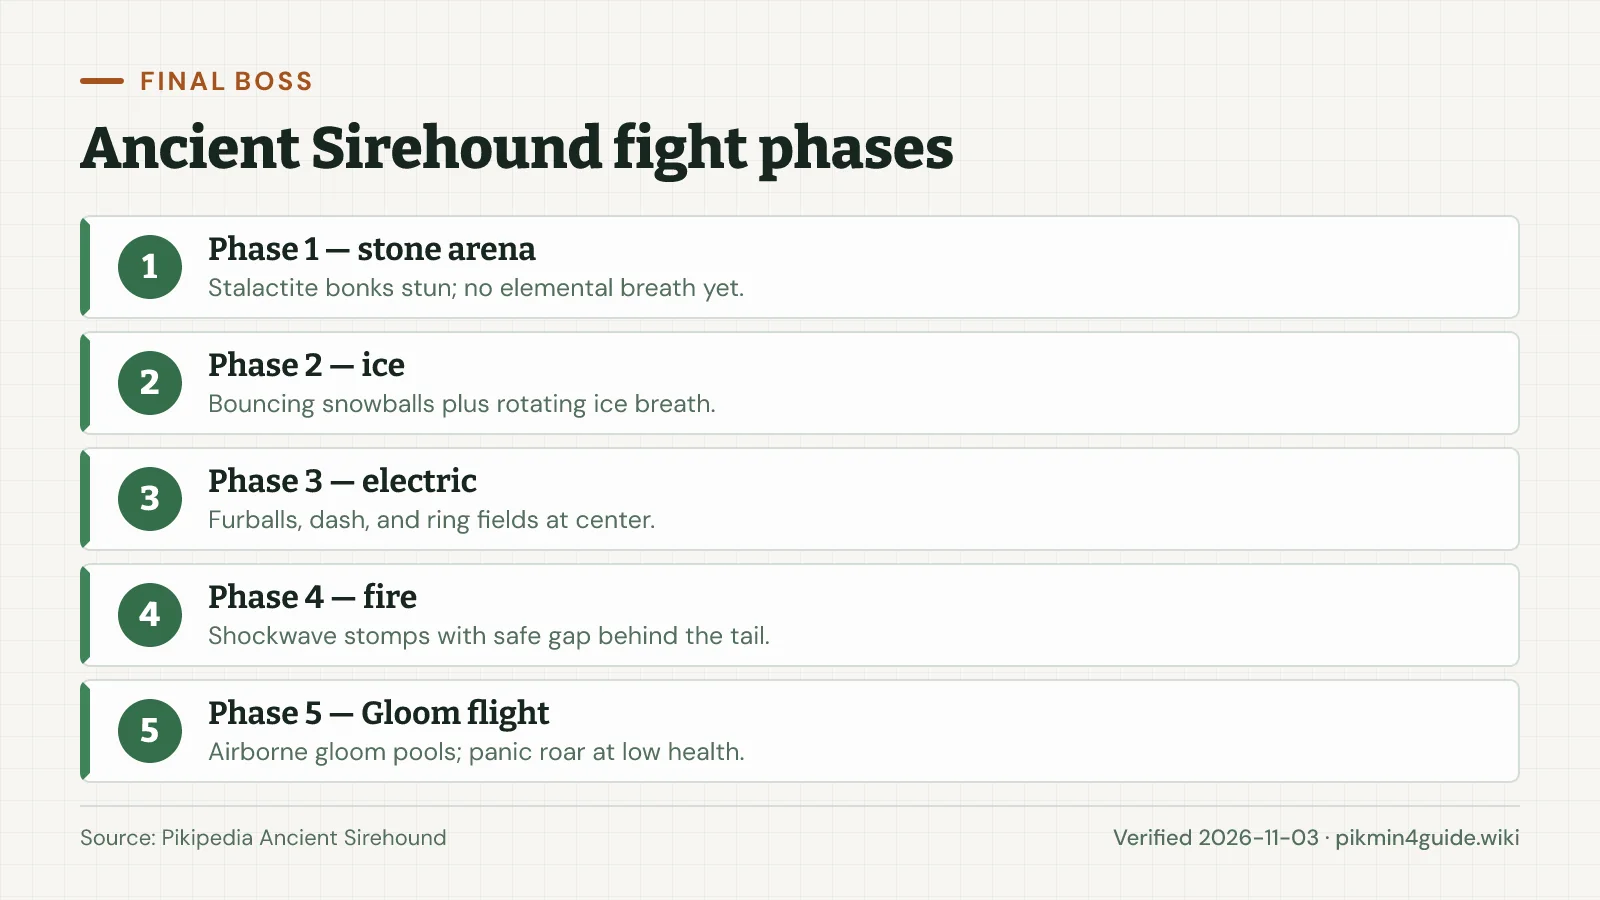
Phase 1 — stone and charges
Jump slams drop indestructible grey stalactites. Let the boss crash through them for a bonk stun, then weigh the tail. Charges eat Pikmin in the path—listen for the same audio cue Oatchi uses before Rush.
Phase 2 — ice
Expect five bouncing snowballs and a sweeping ice breath that freezes Pikmin. Frozen victims invite a follow-up charge; touching the furry body applies ice until the phase ends. Ice Pikmin cannot freeze the boss during this phase (Pikipedia strategy notes).
Phase 3 — electric
The Sirehound spits electric furballs that rotate cross-shaped bolts, performs a faster electrified dash, then anchors itself to spawn ring fields on the floor. Tail stays higher except during the anchored attack—plan whistle timing carefully.
Phase 4 — fire
It mixes fireballs, burning furballs, and shockwave stomps with a deliberate gap behind its tail so you can stay safe without jumping. Oatchi can hop the lower shock ring if you misposition.
Phase 5 — Gloom and flight
The dog flies, dropping Gloom puddles and firing a rectangular Gloom beam. Every Pikmin type dies to Gloom, so treat patches like instant-death zones. Panic roars at low health can send survivors running into those puddles—keep a Lightning Shock or Glow mob ready; Pikipedia notes either can force the tail down without chasing air movement.
Which squad and items should I bring?
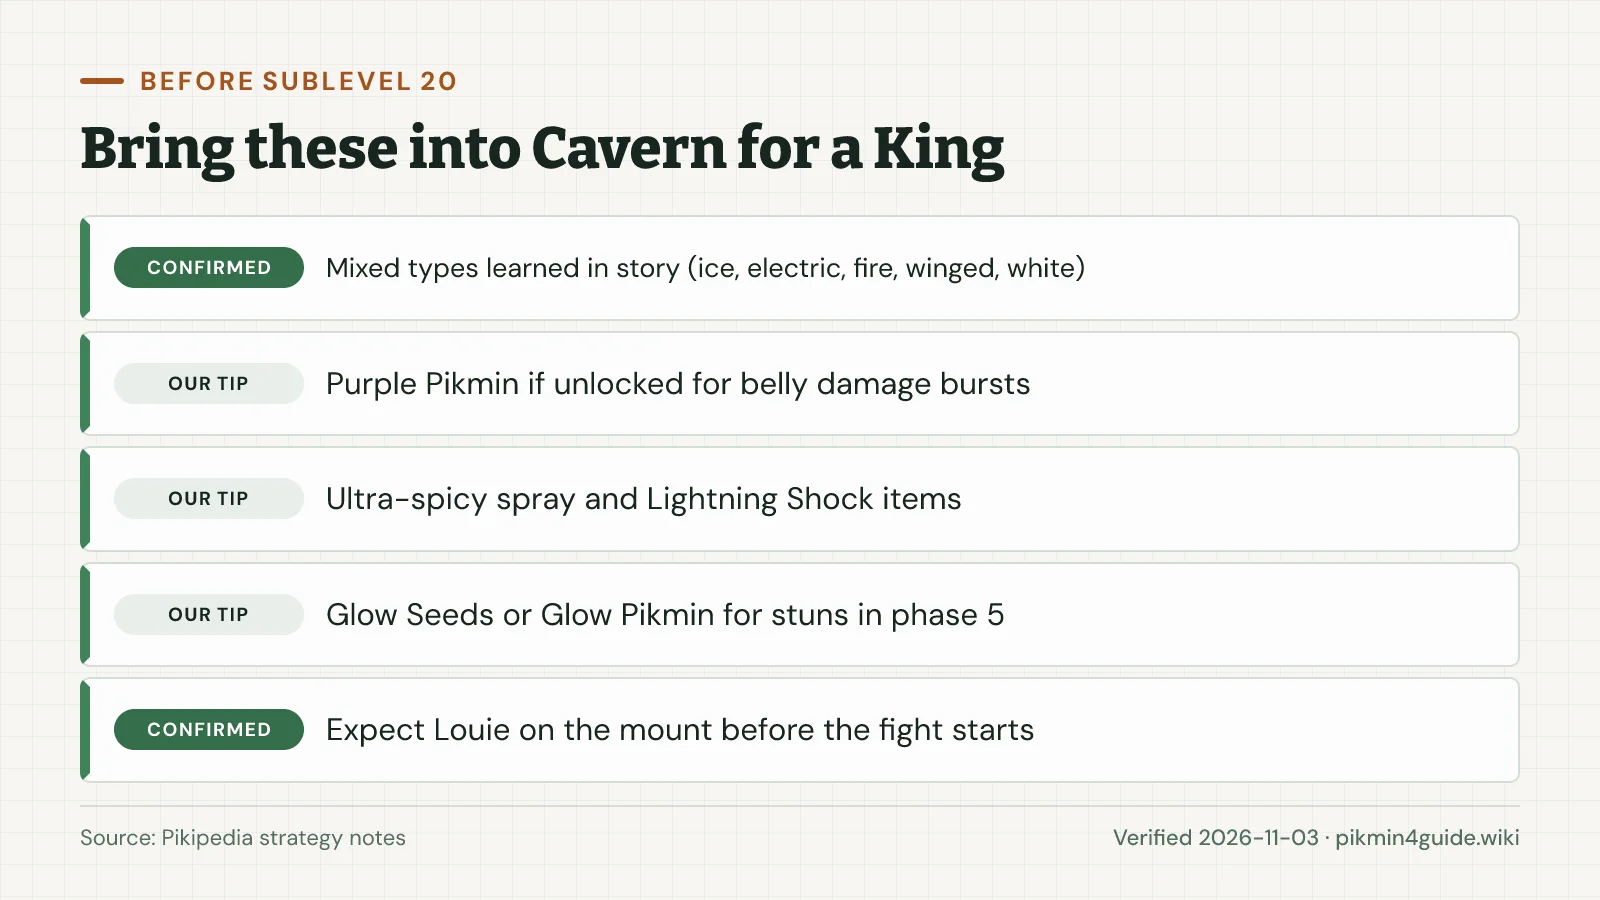
- Types: Enter with every element the story already unlocked—there is no single “best” color because hazards rotate. Purple Pikmin remain the fastest belly DPS if you unlocked them.
- Candypop Buds on sublevel 19: Pikipedia warns each bud yields only five Pikmin and some colors match hazards absent in the fight; do not rely on them for full coverage.
- Consumables: Ultra-spicy spray for belly bursts; Lightning Shock for phase 5 stunlock strats; Glow Seeds if you carry Glow Pikmin into the cave.
- Oatchi: Ride through Gloom gaps, jump fire rings, and Rush latch Pikmin onto the belly during downed windows. Rush and carrying upgrades make this far more consistent, so check best Oatchi upgrades before you descend.
Common mistakes:
- Skipping tail weight — Belly never opens.
- Letting hazard Pikmin panic — Later phases only charge-to-eat when Pikmin are already afflicted; manage whistles deliberately.
- Swarming during Gloom — Same mistake as the Smoky Progg fight: only controlled throws survive.
For type unlock order before entering Primordial Thicket, see all Pikmin types. For cave pacing, see 100% checklist timing on Cavern for a King.
Sources
- Pikipedia — Ancient Sirehound (accessed 2026-11-03)
- Pikipedia — Primordial Thicket (Cavern for a King context) (accessed 2026-11-03)
- Pikipedia — Pikmin 4 plot (second ending) (accessed 2026-11-03)
What we’ll update
- Patch notes if Nintendo retunes HP wheels or phase transitions (verify against Pikipedia after any balance update).
- Switch 2 Edition boss changes only if documented post-2026-11-12 release.
FAQ
Is Ancient Sirehound the last boss in Pikmin 4?
How do I expose Ancient Sirehound’s weak spot?
Which Pikmin types do I need for Ancient Sirehound?
What happens after I beat Ancient Sirehound?
Does Ancient Sirehound appear outside Cavern for a King?
Related Articles
bosses
How to Beat Smoky Progg in Pikmin 4: Strategy & Tips
Smoky Progg in Pikmin 4: gloom egg locations, night expedition breaks, Cavern for a King floor 10, head-throw tactics, and panic roar counters.
guides
Pikmin 4 100 Percent Checklist — What Counts & Order
What Pikmin 4 100% means on your save file: missions, treasures, castaways, Oatchi, caves, night runs, and postgame modes—with a verified checklist and order.
guides
How to Get All Pikmin Types in Pikmin 4 (9 Types)
Unlock order, Onion locations, and abilities for all nine Pikmin types in Pikmin 4, from Red through Glow, Purple, and White.
Was this helpful?
Thanks for the feedback!